We have been looking after a cat for quite a little while now. He is a sweet, gentle Russian Blue with a very good nature, however he has a habit of waking us up with meowing and scratching at 4am to tell us he wants his breakfast.
We made a number of attempts to find a happy solution, however we discovered that the extra food left out the night before was not fit for catsumption in the morning and that cats can overcome the muting of a closed door when they really want to be heard. I opted for a smart solution to his early morning antics.
I had seen an automatic candy dispenser available around Xmas as a cheap gift option. At $20 it included a large clear hopper for holding lollies, an infrared sensor to detect a ready hand and a motorised dispensing system to send lollies into a waiting hand. I bought a couple thinking that the hopper would store cat nibbles sufficiently well for freshness and the dispenser should be able to cope with what I took to be a slightly smaller product then the designers had anticipated.

I toyed with the idea of leaving the IR senor in the future Cat Feeder but expected the cat might just keep on going if a fresh food source was available (he likes his nibbles…so long as they are fresh). My goal was to hook the device into the existing Home Automation system such that any mobile phone in the household could trigger a food release. This would also allow us to trigger food releases while away from home as well as to script food releases on a schedule.
The existing Home Automation system is run from a PC using WAMP Server – all automation devices are held in a MySQL database and the front end and switching commands are managed using PHP5. I needed a way to connect the Cat Feeder back to the PC, without having to use additional hardware om the PC side. I toyed with adding X10 capability to it but haven’t been at all impressed with the performance of X10. Wireless would work best, and WiFi seemed the ideal solution as it could hook into my existing network allowing the PC to address the Cat Feeder directly.
My design was to hack the Cat Feeder to include a WiFi board, put it on my WiFi network at home and have it always listening on HTTP port 80 for a command to turn on. It would then execute a couple of commands to turn the feeder mechanism on for a second then off again. Simple. So I thought.
I did a bit of research on WiFi modules and found a growing number of hardware options with varying levels of sophistication. Since I was already pretty familiar with Arduino I started there and purchased a WiFly WiFi shield based on the Roving Networks RN171 chip. This board plugs directly onto an Arduino Uno board, allowing you to connect the Arduino to your computer to quickly program it to send and receive data over WiFi. It has support for all kinds of protocols (from raw TCP sockets to FTP and HTTP) and was cheap at around $60 (compared to the more common WiFi Shield at around $100).

After getting this board and connecting it up I very quickly ran into troubles. Although Roving Networks has a really good user guide for their chip, writing the require code for the Arduino to communicate over serial to the chip was a big undertaking…and frankly at the periphery of my abilities. The board manufacturer included a Arduino library which covered the basics (such as associating to a wireless network, sending packets etc) but which seemed more targeted towards using the board to automatically log into a WiFi network and post HTTP data to a server in response to hardware triggers. This made it highly suitable to a telemetry application such as sending temperature readings to a server etc, but become increasingly challenging to get it to listen on port 80 for HTTP traffic and respond intelligently. The library didn’t provide enough of the groundwork to do what I needed out of the box and tackling the learning curve that would enable me to update the library to support what I needed was more work than I wanted to invest. Furthermore the device had a habit of dropping off the network. I guess if its implementation only called for it to log on to a server over WiFi, send a bunch of data then drop off again but I needed it on all the time. I was also never really happy with it’s behaviour over a local serial connection; when using the Arduino serial monitor to connect directly to the board the output from it was always highly garbled, in some cases leading to anomalous operation.
So I looked into alternatives. By this stage I was also aware that using an Arduino board was a bit of overkill for this project – it simply didn’t require that level of smarts. To cover my bases however I immediately bought three other WiFi options!
- The ‘official’ Arduino WiFi Shield
- The RN-Xv WiFi Xbee module
- An Electric Imp!
The official Arduino WiFi shield was a little more expensive but had much better support with a full library covering everything I wanted to do, lots of examples and most importantly a healthy online community for support!
The Electric Imp seemed like it could provide a minimalist solution being the smallest of the lot. Its an amazing little device and I was keen to have a play with it.
The RN-Xv Xbee module I picked up courtesy of a Hack A Day article about a guy that used it to control his garage door over WiFi. He had a pretty good walk through of what he did and I liked that he didn’t use the Arduino board.
Since I wanted to proceed without using an Arduino board I next tried the RN-XV module. Since it is based on the same chip as the WiFly module I had been playing with, much of the operation was already familiar. Communications between the WiFly and Arduino was managed over a serial link, whereas to connect to the RN-XV I first got it going in ad-hoc wireless network mode by putting 3.3v on pin 8 and turning it on. This allowed it to come up with it’s own SSID which I could connect my laptop to in order to establish a serial connection to the board. Worked brilliantly and I was quickly able to set my WiFi network parameters (SSID, WPA2 passphrase etc) on it. Removing the 3.3v to pin 8 and rebooting it brought it up on my WiFi network – success!

I could then telnet to it and send the relevant serial commands to turn the dispenser motor on and off…however not using Arduino meant that my ability to emulate HTTP on the device was limited (again, at the periphery of my ability). So I instead turned to my PHP code and looked for an easy way to telnet to the device and send commands using PHP. After tinkering with a number of classes based on fsockopen I found one that worked well – TelnetDog.
From here it only took a few minutes to update my Home Automation PHP script, add the device to the database and presto! I had a new ‘Feed Cat’ button on my Home Remote page!
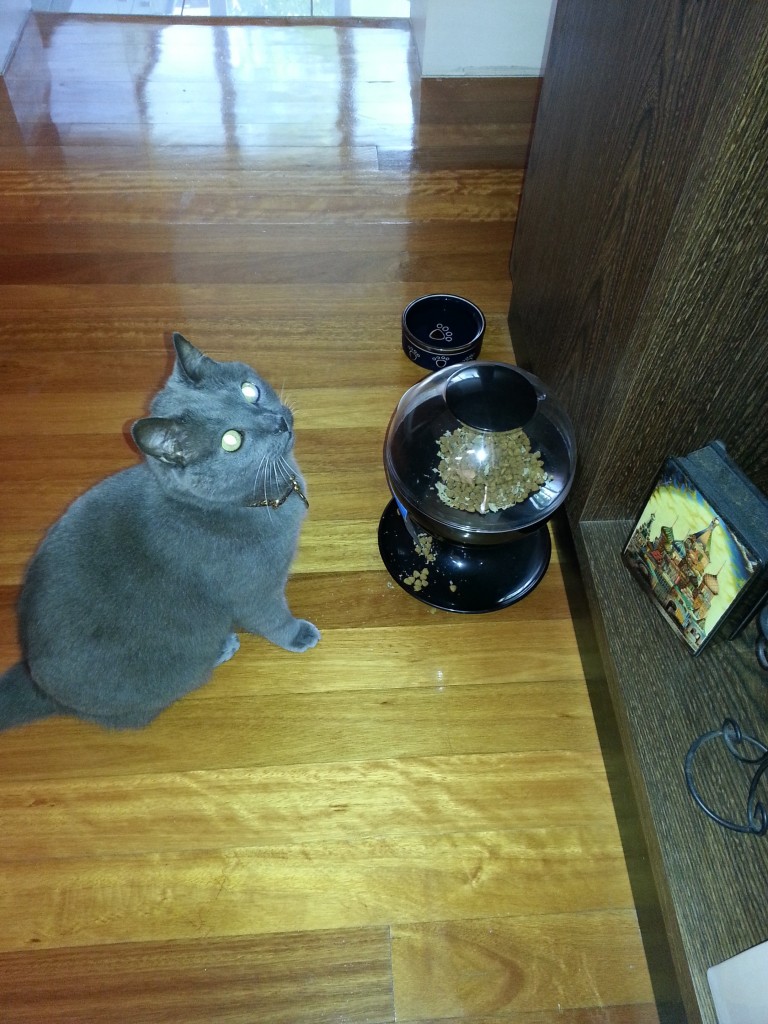
I’m happy to report that the cat is indeed eating from the Cat Feeder tray and is not put off by the noise it makes when dispensing his nibbles.
Now if I can only automate the cat litter tray…

Leave a Reply